My Headshot Photography Equipment List
When I go on-site to photograph headshots in an office for a company, I have a dedicated set of equipment that I take with me. And I know this is something that many photographers struggle with. What equipment should I buy? And how much should I be spending on it? Especially if you’re just starting to learn about Studio lighting and headshots, it can be difficult to know which pieces you should invest in and spend more on, and what you can buy cheaply without it affecting your work product. The main thing, however, no matter what equipment you have, is to learn how to use it. Often we try to overcompensate for our lack of knowledge with more stuff. But having years of experience lighting portraits in different situations allows me to go into any space and set up flattering lighting no matter what. This also means that I need just one primary light and one fill light, with a few things to bounce that light around as needed.
The following photography equipment list is actually what I use to light on-site headshots and what I bring with me to the company’s office. I do have additional stuff available if the situation requires it, but for the most part, the items below are in my “go kit” for every job.
*Please note that this post may contain affiliate links, which means that I may receive a commission if you make a purchase using these links. As an Amazon Associate I earn from qualifying purchases.
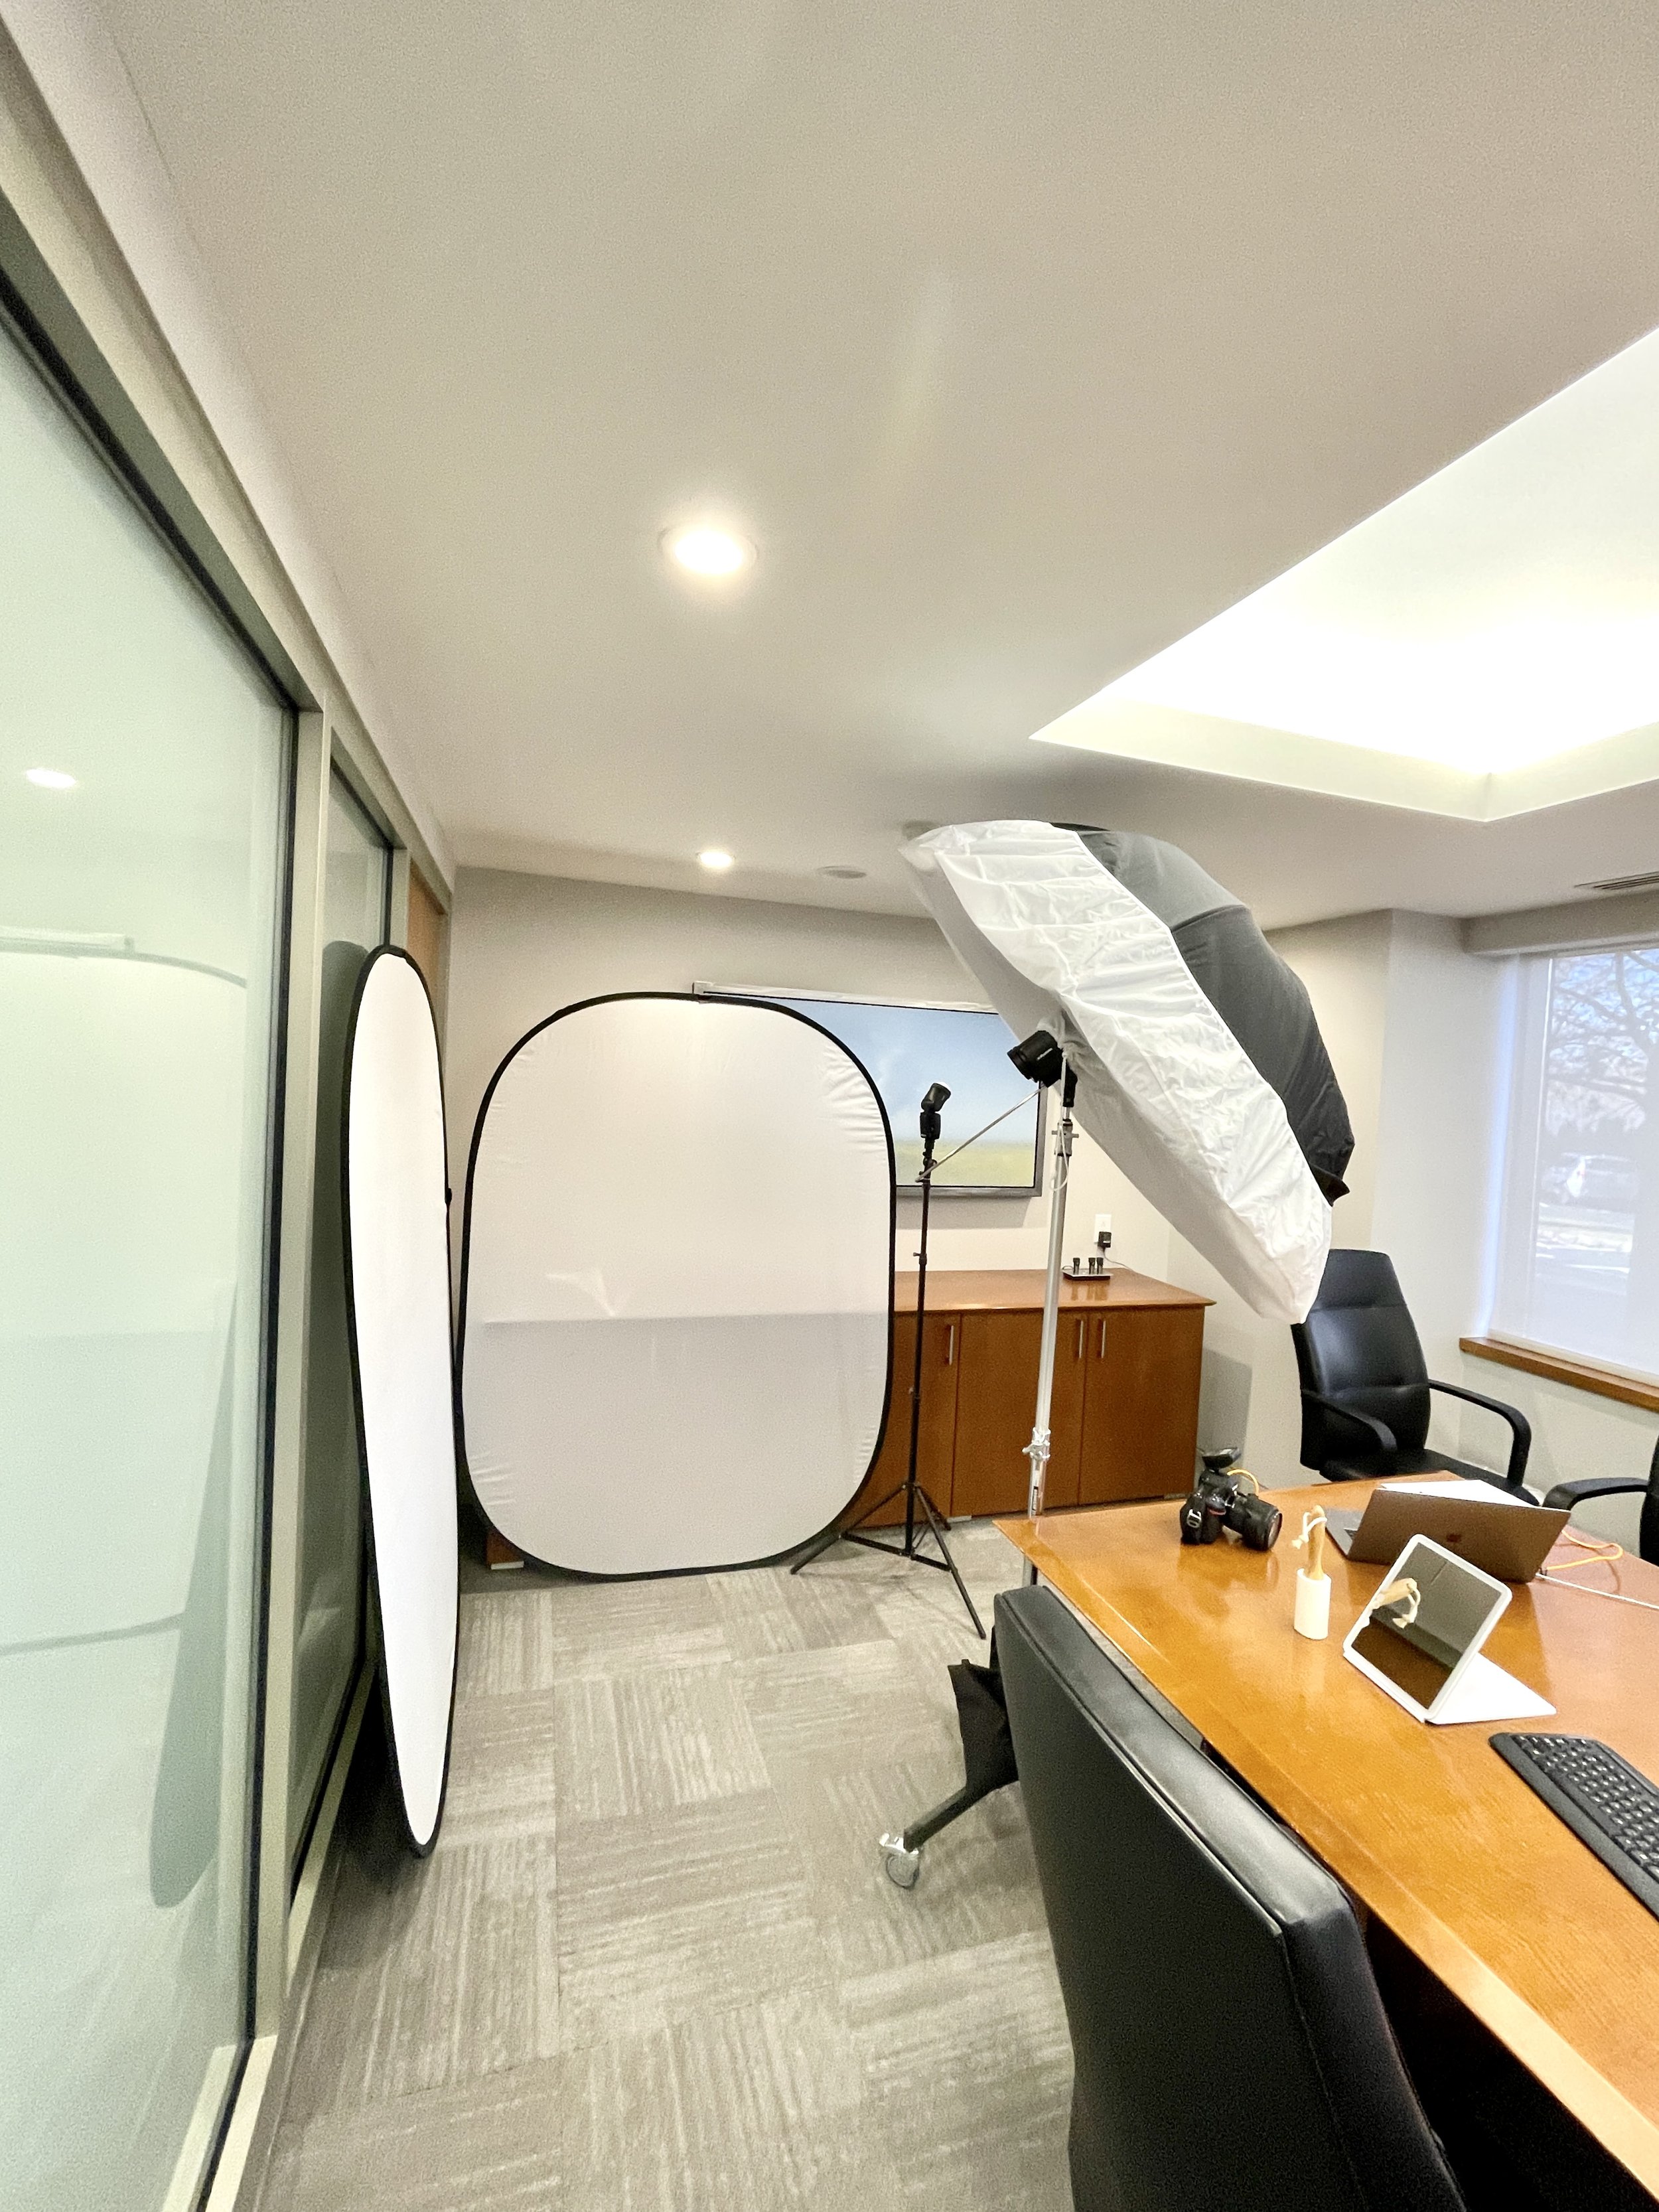
The simplest on-site setup for headshots using two lights, a popup backdrop, and a diffuser.

A slightly more complex setup with a tripod and posing stool, but using the same primary equipment.

Final headshot result.
Camera & Lens
I have my primary Nikon D850 body and the 50mm lens that I use for all of my headshot sessions. I do also have a backup camera and lens just in case, but have yet to ever need them. The other thing to remember is to always have backup batteries (you don’t have to go crazy, one or two is sufficient) and memory cards (unless you’re tethered, in which case the images are transferred directly to your computer) just in case.
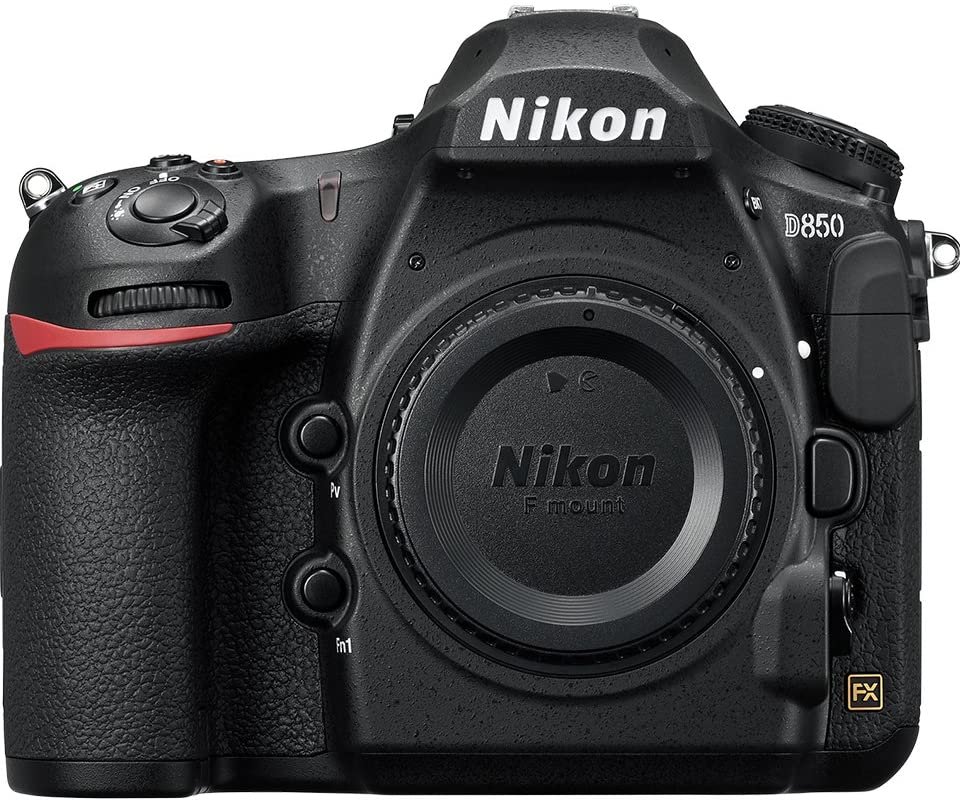
Nikon D850
My primary camera is the workhorse in my business. But really it doesn’t matter what camera you use.

Sigma 50mm f/1.4 Lens
My absolute favorite portrait lens. Tack-sharp focus and great performance. Make sure to get the right model for your camera.
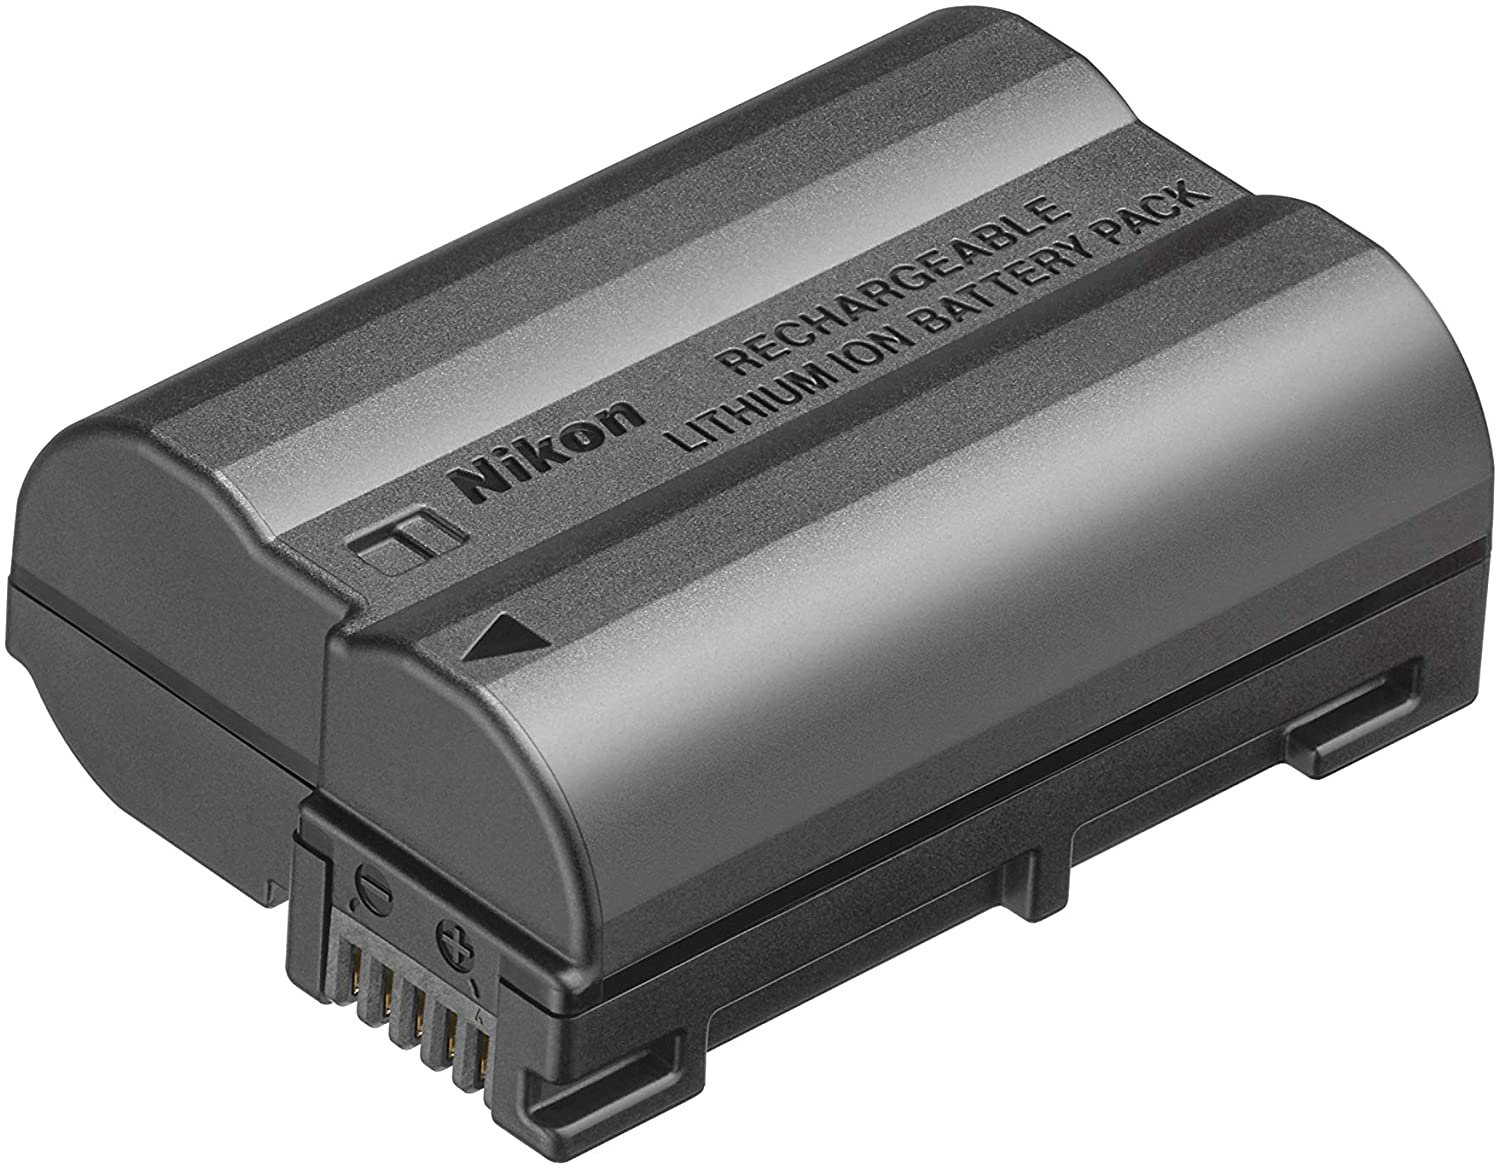
Extra Battery
It’s essential to have an extra battery or two just in case.
All the Lighting Equipment
I’ve seen many photographers who like to bring and use a ton of equipment, but my biggest goal is for everything to be as portable as possible. The following item list allows me to enter the building in one trip (you have no idea how amazing this is). I do have other equipment that I use and bring if needed (like a posing stool, paper backdrops, tripod, and backdrop stands), but it’s always my preference to have one backpack and one rolling bag which contain everything I need.
The other thing to note is that I do invest in Profoto lighting equipment, but it’s definitely not necessary to spend that much, especially if you’re just starting out. There are plenty of cheaper alternatives for strobes and speedlights. What makes the biggest difference is your skill level, not what you’re using. So if you can’t afford the top of the line right now, start off with something cheaper and upgrade in a few years if you feel the need.
Because I keep what I buy each year for my business to a minimum, I can spend the money on higher-end products instead of buying a handful of cheaper lights because I feel like I need them. The Profoto lights I use took about 5 years to acquire, which was done slowly and very deliberately.
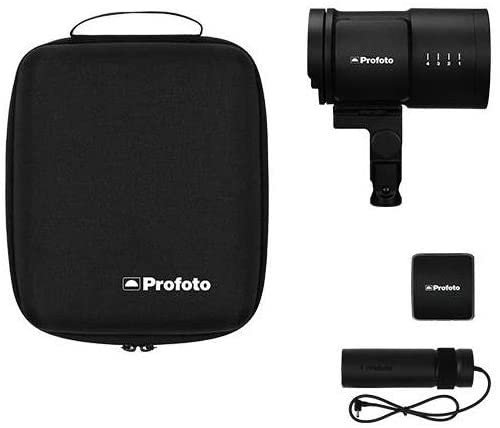
ProFoto B10 Studio Light
Battery-powered and lightweight strobe. Used as the main light source.
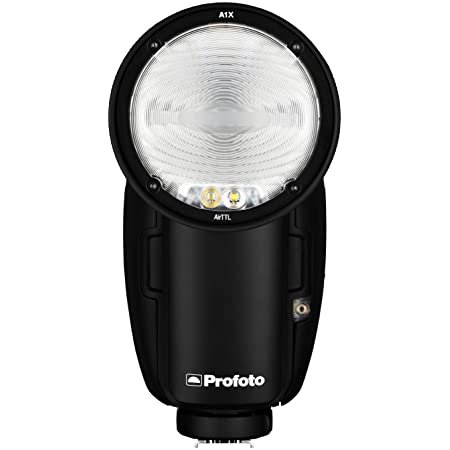
Profoto A1 Speedlight
Secondary light source that’s used as the fill light. Make sure you buy the right version for your camera.

Profoto Air Remote
Remote that goes on the camera to trigger the strobe and speedlight. I love it because it always works.
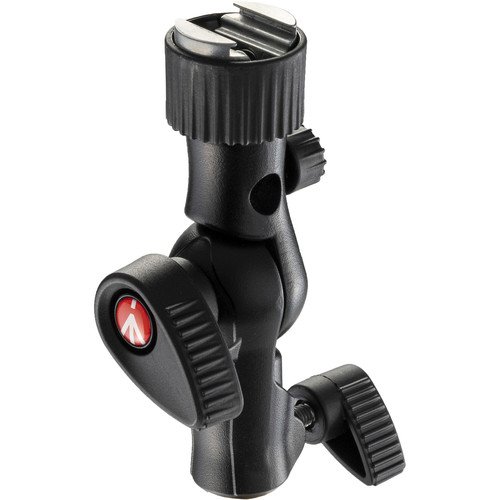
Manfrotto Cold Shoe Tilt Head
My favorite way to attach the speedlight to the stand. Easy to adjust and attach securely.

Folding Base Stand with wheels
Folds down small and fits into my primary rolling bag, but sturdy/heavy enough to hold the big umbrella and light.

Simple Light Stand
The speedlight just needs a simple stand because I don’t use any light modifiers on it.

Filled Saddle Sandbag
(15 lb, Black)
Essential to weigh down the primary light stand for safety reasons.

Parabolic Umbrella
Umbrellas fold down small and are quick to set up. Be sure to select the size/type that’s best for you.
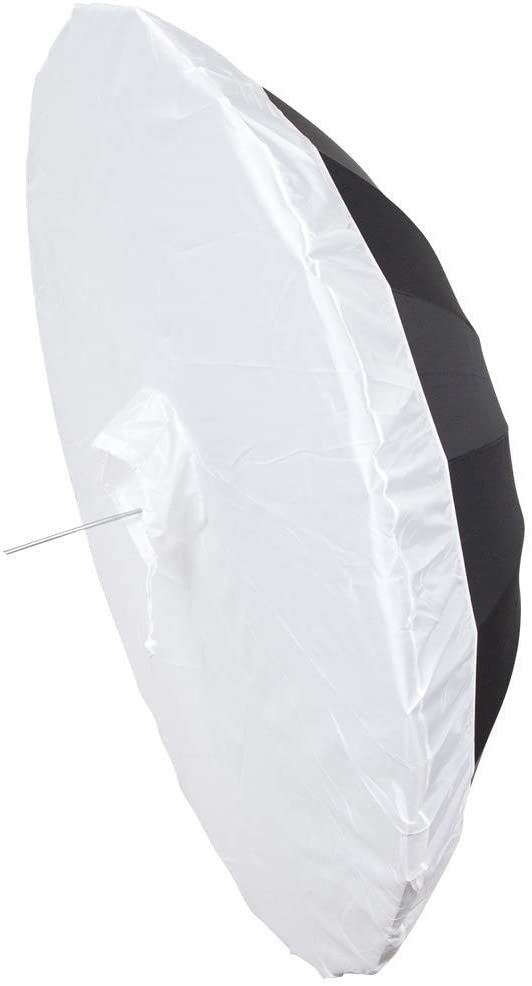
Diffuser for Umbrella
Main umbrella should always be diffused and the quality of the diffuser really doesn’t matter in my opinion. This standard one fits.

6’ Collapsible Diffuser
Perfect for bouncing or diffusing light depending on the situation and collapses down for easy transport.

Pop-Up Reversible Background
It’s not perfect, but I like this popup background better than the seamless paper tube because it’s smaller and easier to transport.
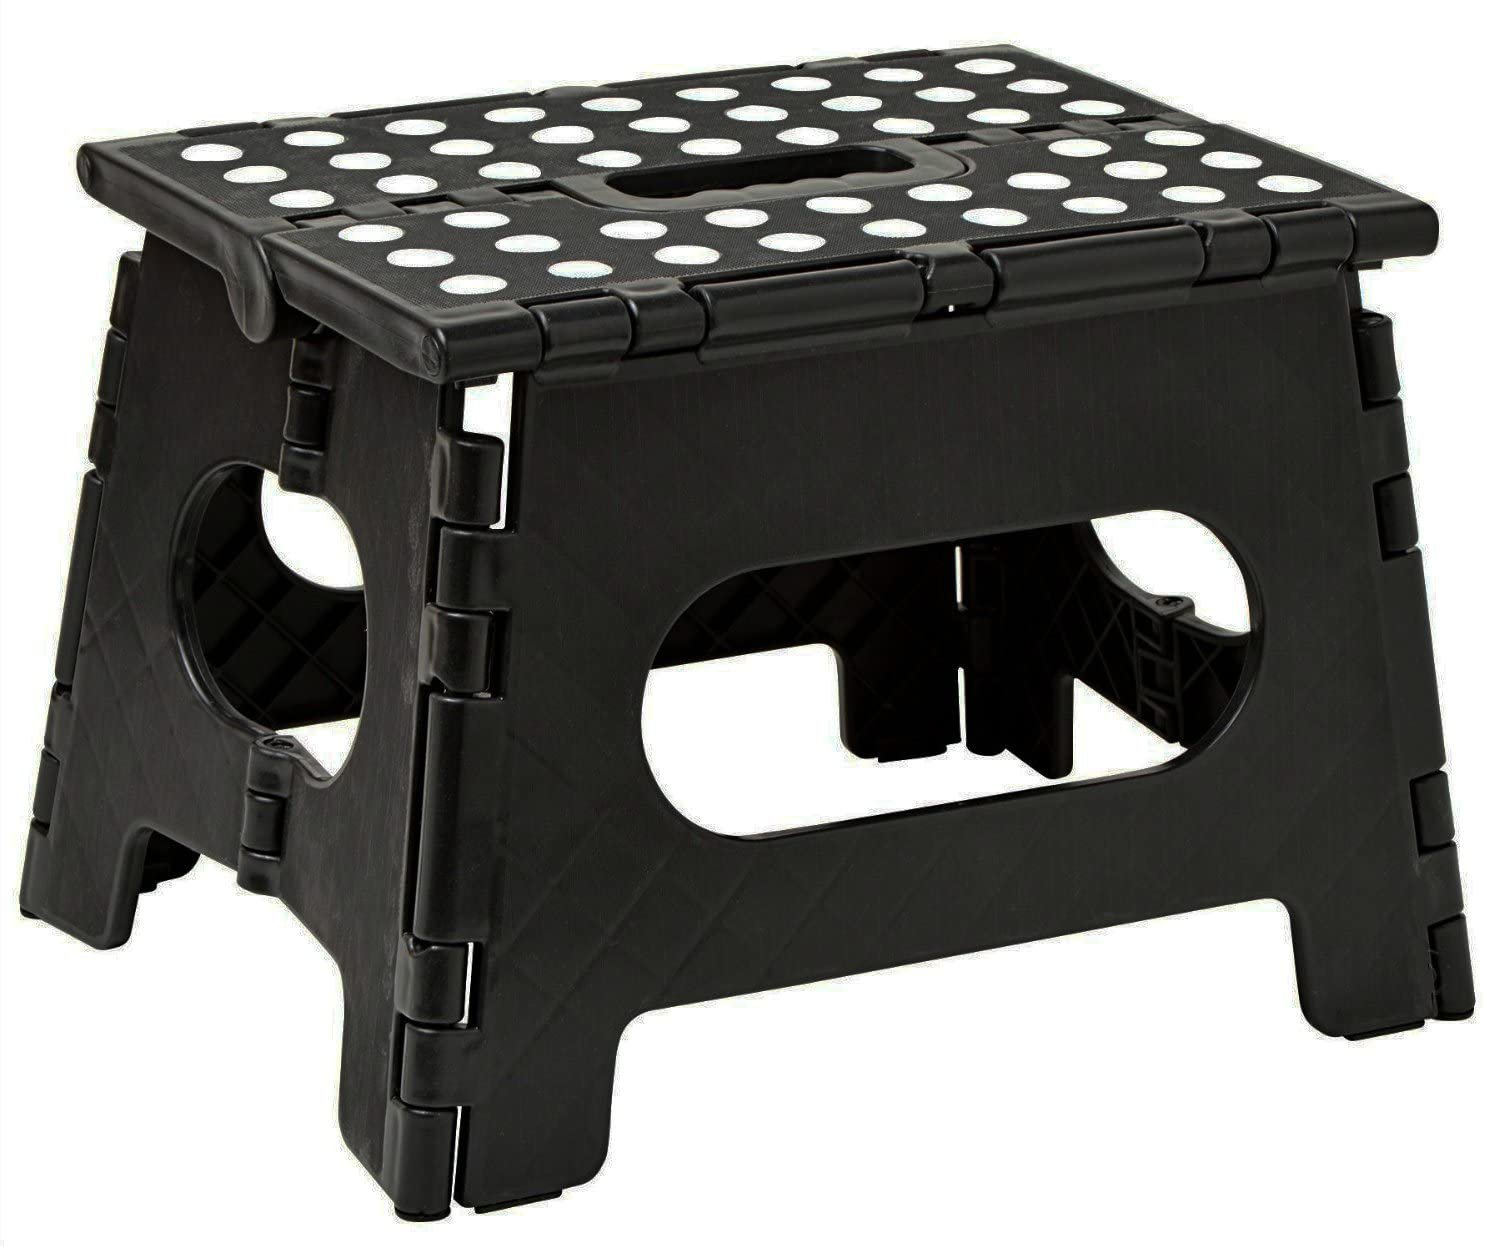
Folding Stool
I don’t always need it, but when I do, this stool fits into my rolling bag. Perfect for lifting the popup background for taller people or allowing me to gain a foot in height.
Carrying Bags
These two pieces of equipment were by far my best purchases. I already mentioned how carrying everything in one go is a game changer, and these pieces of heavy-duty luggage allow me to do just that. Do know that once filled, both the backpack and rolling case are extremely heavy (hence the wheels on the big bag), but if I can carry them without issues (I happen to be a somewhat small-framed female), so can you.

Profoto Backpack
Bag for laptop, camera, lenses, cables, trigger, and batteries.
Think Tank rolling case
The tripods and large items all fit inside. This case allows me to roll the equipment in all at once and accommodates anything extra I need to bring.
Image Review Setup
In order to avoid disappointed clients and reshoots, I sit down with each person and review their headshot on the spot during the session. That means I have to have a computer on site to preview the images. I’ve worked on a Mac for most of my career and it’s what I recommend, but there’s no reason you can’t use something else. The key here, however, is to tether to your computer so that images are able to be reviewed right away and with best possible color preview.
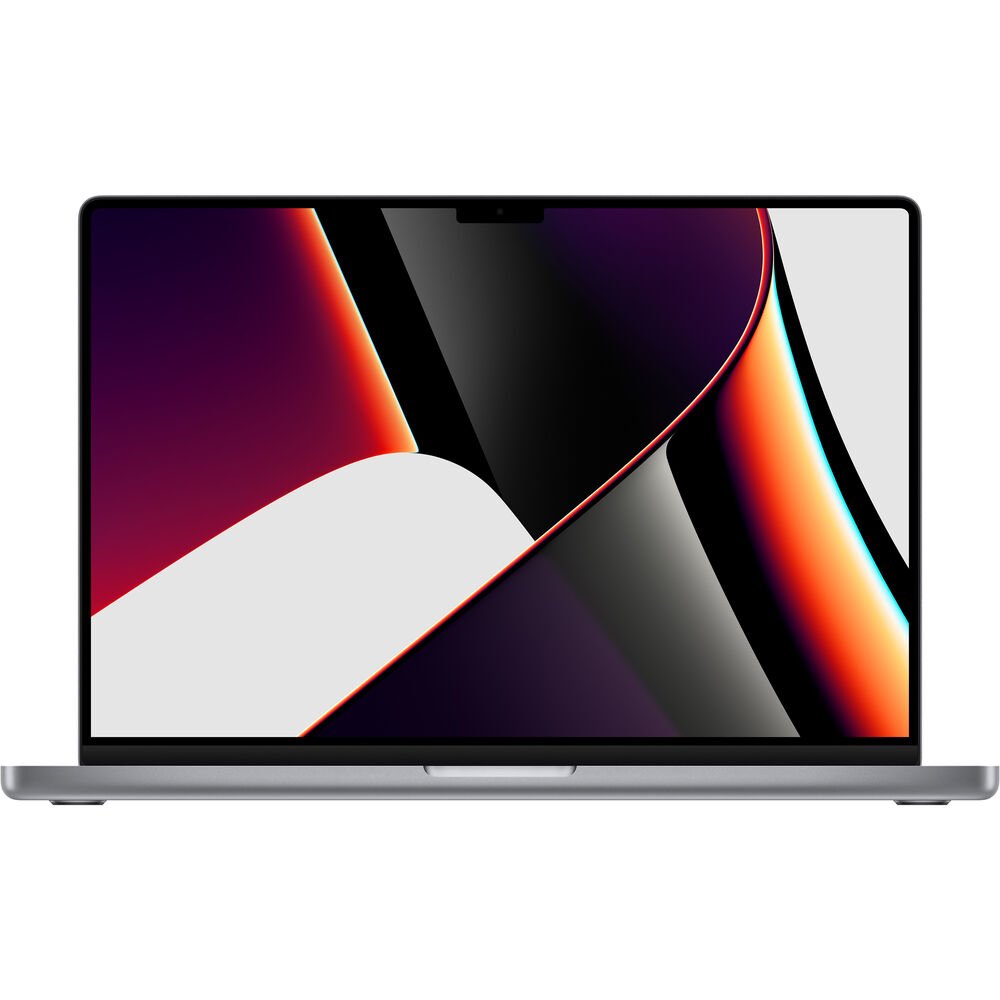
MacBook Pro 16” laptop
I love Apple laptops and use the 16” MacBook Pro as my main computer in all instances.

Tether Tools TetherPro USB cable
Tethering my camera allows me to review headshots quickly on-site and easily spot any issues during the shoot.